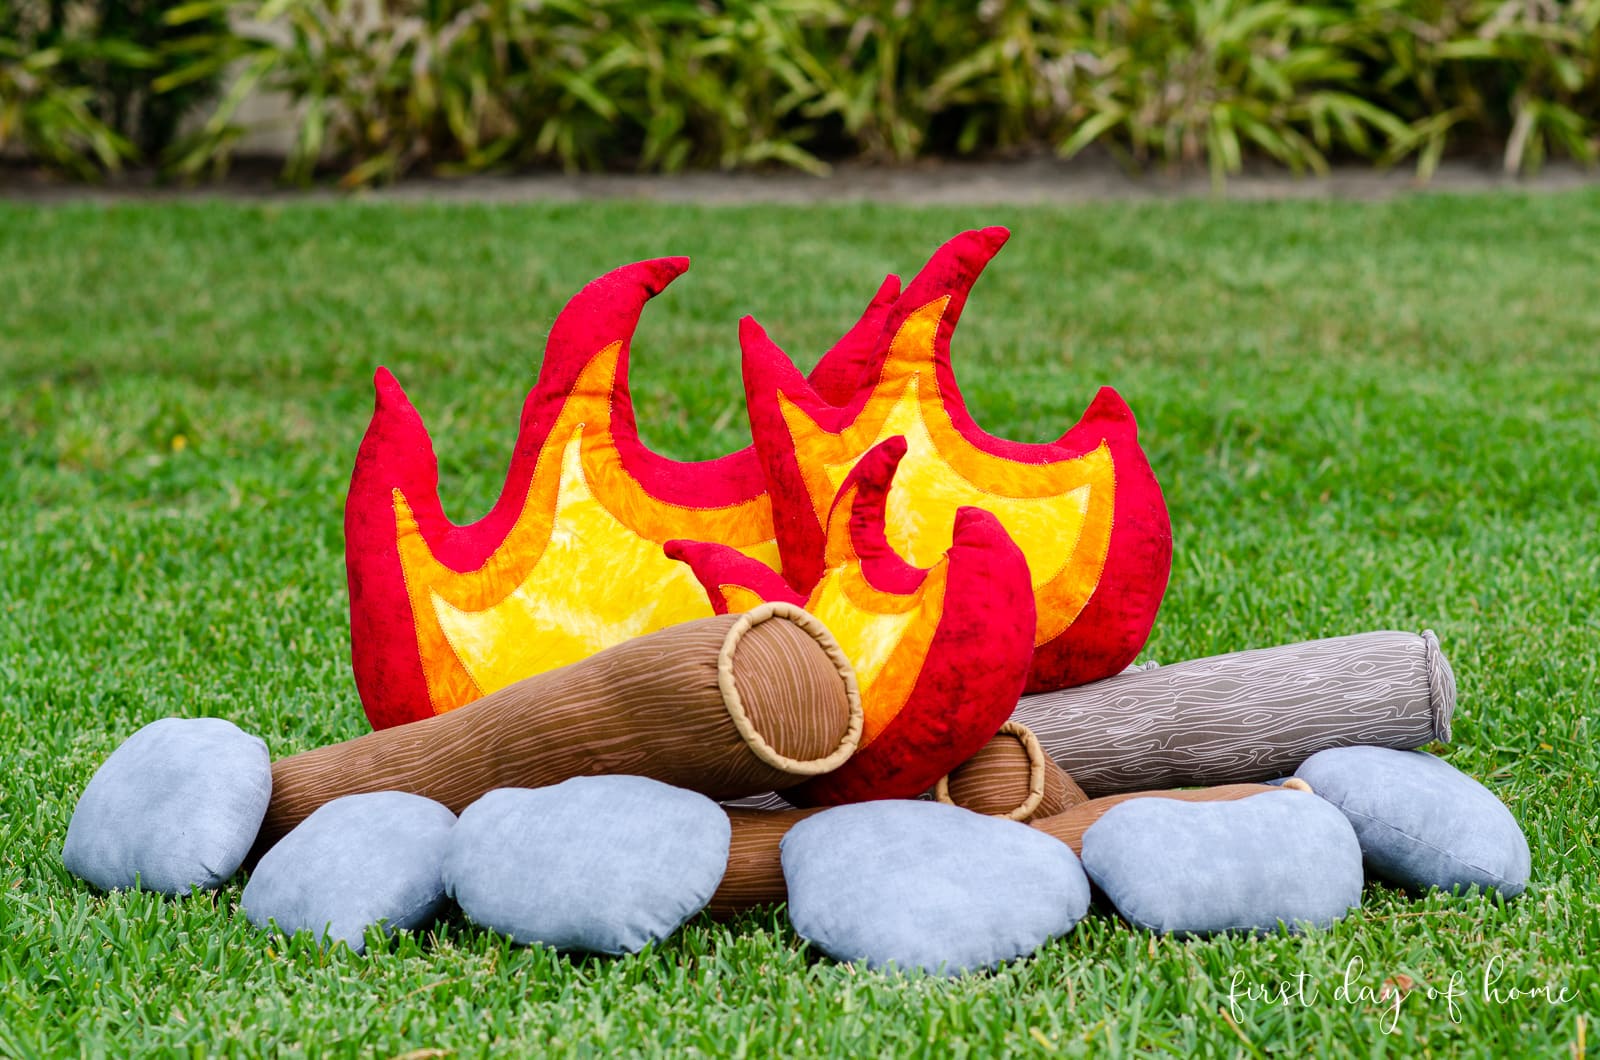
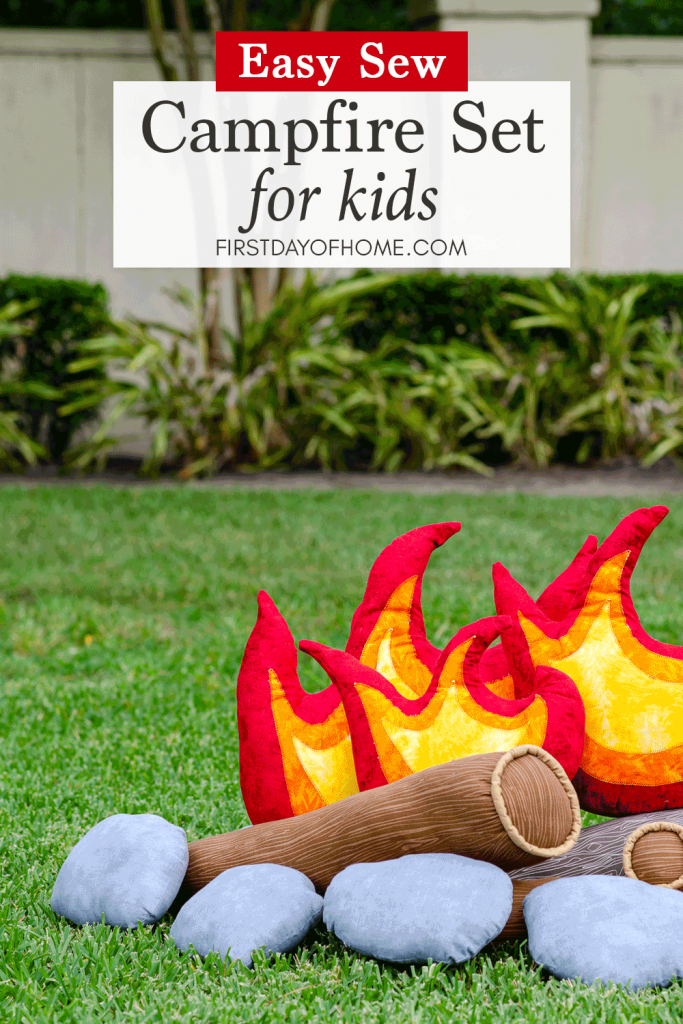
Sewing a Kids Pretend Campfire Set: Free Tutorial

My boys love collecting sticks to build “campfires” in the backyard, so when I recently saw a pretend campfire set in a catalog, I thought, “I need to make that!” Today, I’m sharing a free tutorial on sewing a kids pretend campfire set so you too can make one of your own!
This post contains affiliate links, and I will be compensated if you make a purchase after clicking on my links. For more information, please see my disclosures.
Supplies Needed for Kids Pretend Campfire Set
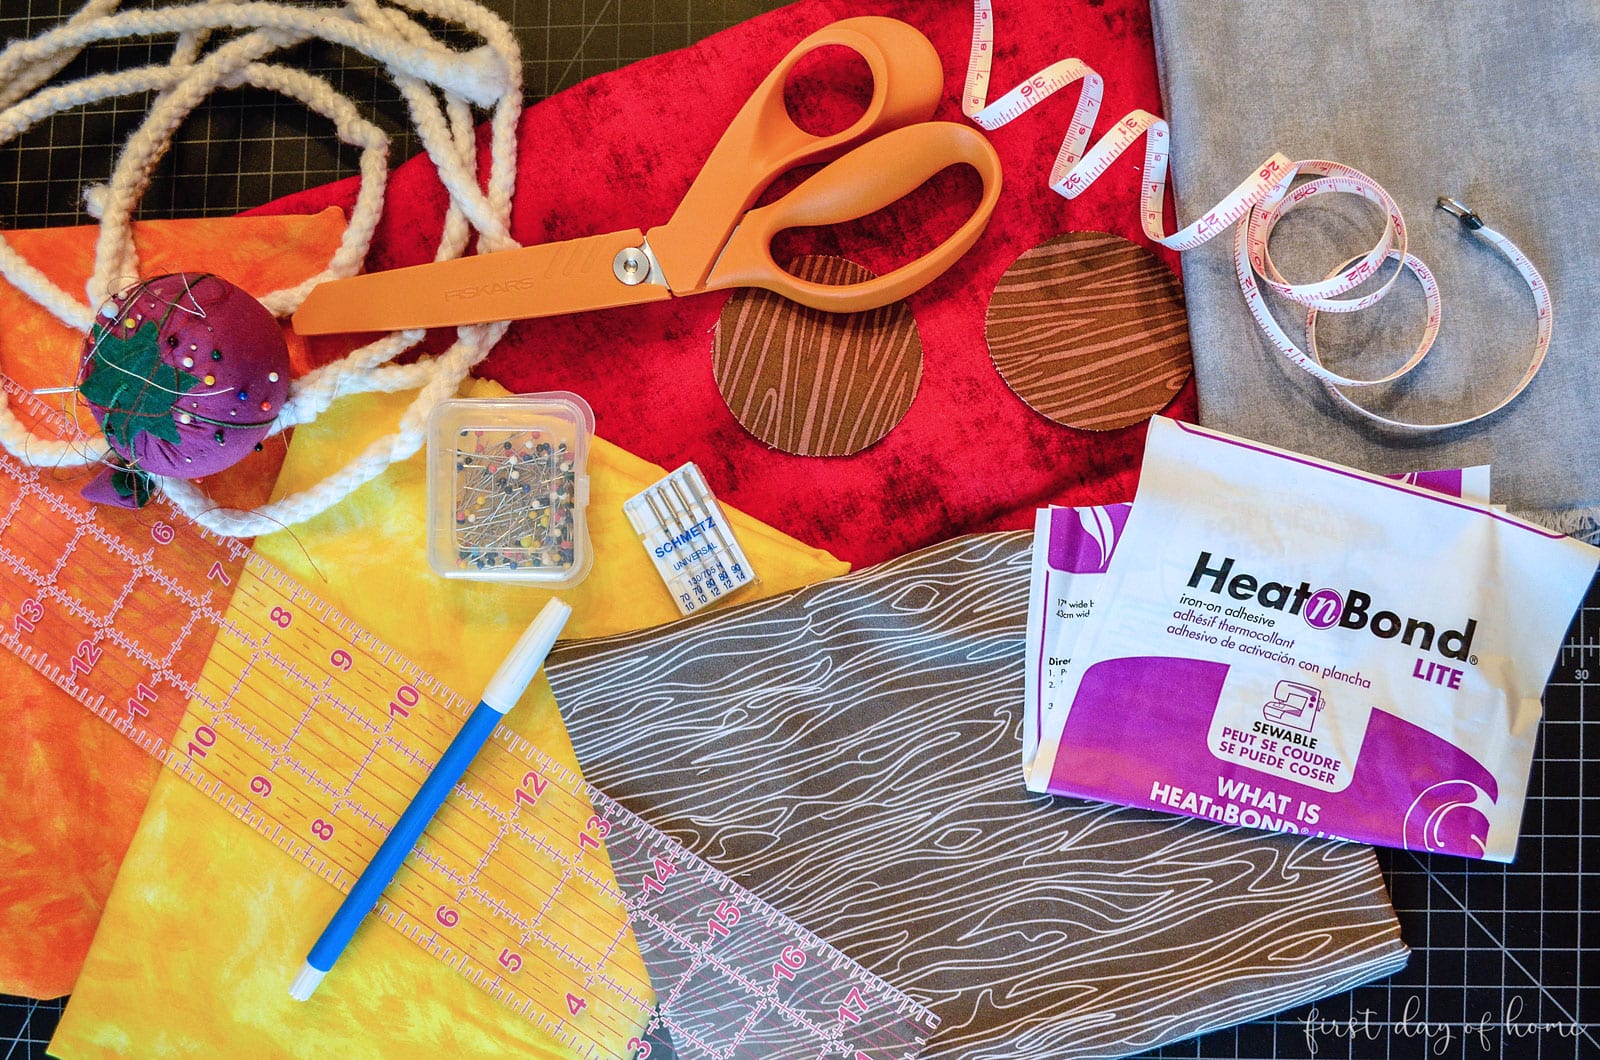
For my campfire set, I made three flames, five logs and nine stones. Here’s what you’ll need to do the same:
- Dark log fabric (3/4 to 1 yard)
- Light log fabric (3/4 to 1 yard)
- Red, yellow and orange fabric (about 1 yard each)
- Grey fabric for stones (1 yard)
- Lightweight fusible interfacing (1 to 1 1/2 yards) – optional
- Poly-Fil (20-ounce bag, 2-3 bags)
- Cotton piping cord (1 1/2 yards)
Tip: Make a note of the laundry care instructions on the fabric. Also, don’t forget to buy other sewing notions like fresh pins/needles, thread, scissors, rulers, mats, etc.
Logs for Kids Pretend Campfire Set
To get started, you may want to wash and iron your fabric according to the care instructions, especially if using fusible interfacing.
1. Create log patterns
I modeled my logs after a simple bolster pillow shape.
Below are the dimensions that include a ½-inch seam allowance on each end.
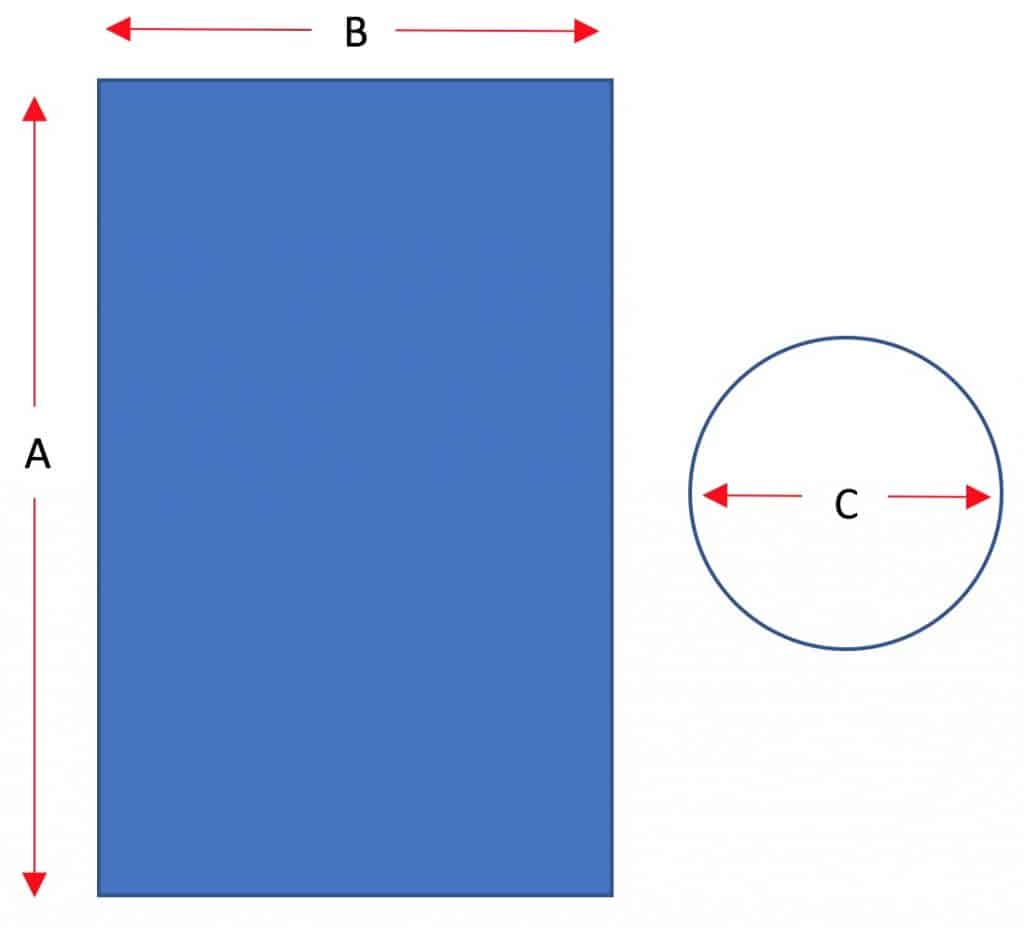
I made a total of two of the largest logs, but you can play with any of these dimensions to suit your taste.
| Length (A) | Width (B) | Circle Diameter (C) |
|---|---|---|
| 22 | 16 | 5 3/4 |
| 20 1/2 | 11 | 4 1/8 |
| 27 | 11 | 4 1/8 |
| 27 | 13 | 4 7/8 |
For the circle pattern, you can use Microsoft Word or another graphics program to size and print paper circles and then trace them onto your fabric.

2. Create piping edges of logs
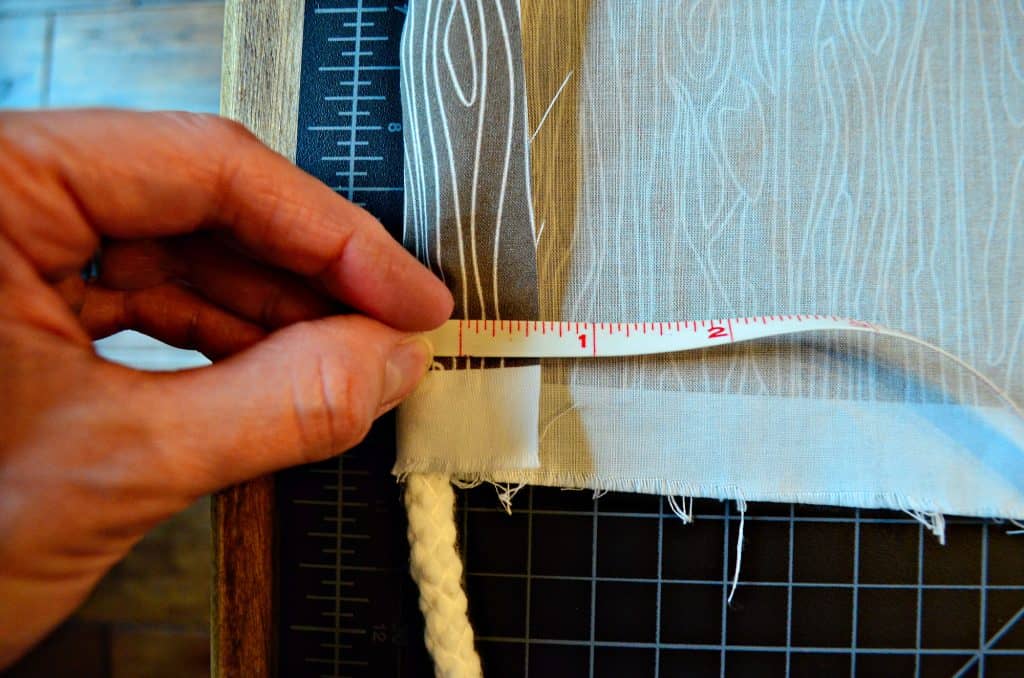
After cutting your main log pieces, prepare the piping for the circles. The piping length should roughly match the width of the log (Part B above).
Wrap the piping in the fabric of your choice and measure a ½-inch seam allowance from the edge of the piping to cut your fabric. Then, sew as close to the piping as possible with a straight stitch.
Finally, sew the piping to the right side of the circles to make an inner ring around each circle. You will need to make small notches (triangles) into the seam allowance around the circles to make sure they lie flat.
3. Sew all pieces of log together
Sew the entire length of the log, leaving a small opening of about 3-4 inches for the stuffing.
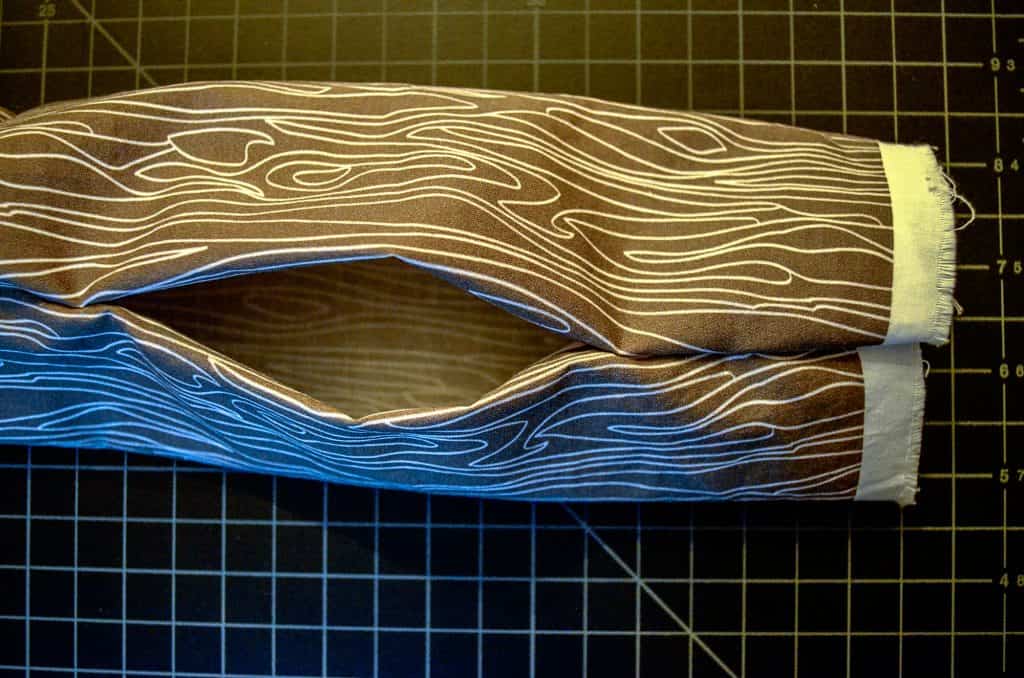
With the main log piece inside out, attach the circular end pieces to the log and pin in place with the piping contained inside. It’s a bit tricky to sew close to the piping edge, so work slowly as you sew around the circle.
4. Fill logs with stuffing and sew closed
When attaching the circular ends of the log, your log will be inside out. Use the small opening to turn your log right side out again and stuff it with Poly-Fil.
Once you have stuffed your log, hand-sew the gap closed with an invisible stitch (also called a ladder stitch).
Flames for Pretend Campfire Set
1. Design and cut flame patterns
To begin, I sketched a flame pattern on paper that I could cut and trace onto my red fabric. My largest red flame measured roughly 19 x 16 inches when finished, and my smallest measured 9½ x 11 inches.

For the orange and yellow parts, I sketched smaller-scale versions of the outermost flame pattern.

When tracing the paper patterns onto fabric, fold the fabric in half with the right sides together (wrong-side out). You can then use a marking pen to outline the shape onto the fabric.

Next, pin the fabric through both layers so you can cut the two sides of the flame at once. Repeat these steps for the orange and yellow fabric pieces.
2. Apply fusible interfacing (optional), and sew flame pieces together
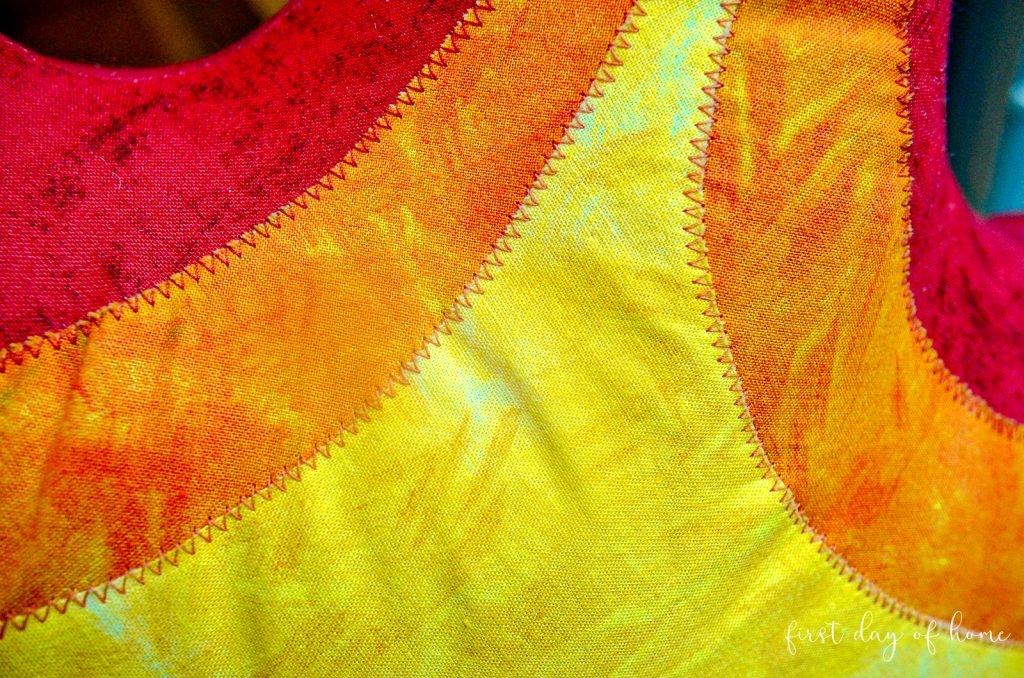
For a crisper look, apply paper-backed fusible interfacing to the orange/yellow flames, and reinforce the bond with a zigzag stitch. The interfacing is easily ironed on and provides extra stability.
Next, sew the combined orange/yellow flame pieces to the red outermost flame using a zigzag stitch again.
Tip: You can use Fray Check to prevent fraying and replace the zigzag stitch with an embroidered stitch if you’re fancy like that.
3. Sew the two red flame pieces together
Sew the red flame pieces together (right sides facing each other) using a straight stitch with a ½-inch seam allowance. Leave a small opening of 3-4 inches on the bottom edge to flip the fabric right side out and insert your Poly-Fil stuffing.
You’ll finish with another invisible stitch to close the gap, just like you did for the logs. Done!

Alternatively, you can add a tapered band of fabric on bottom for a wider base for your campfire pillow set.
Stones for Kids Campfire Set
There is no set pattern for the stones. Mine averaged about 8 ½ x 7 inches when finished.
1. Draw and cut pattern for stones
Begin by folding the fabric in half (inside out), and draw your stone shapes. Be sure to cut through both layers of fabric.

2. Sew stones inside-out
Next, sew a straight stitch around the border leaving a small 2-3 inch gap, flip the stone right side out, stuff it using Poly-Fil, and close it with an invisible stitch.

If you’re a boy mom, keep in mind these stones will definitely become projectiles! You knew that already, didn’t you?
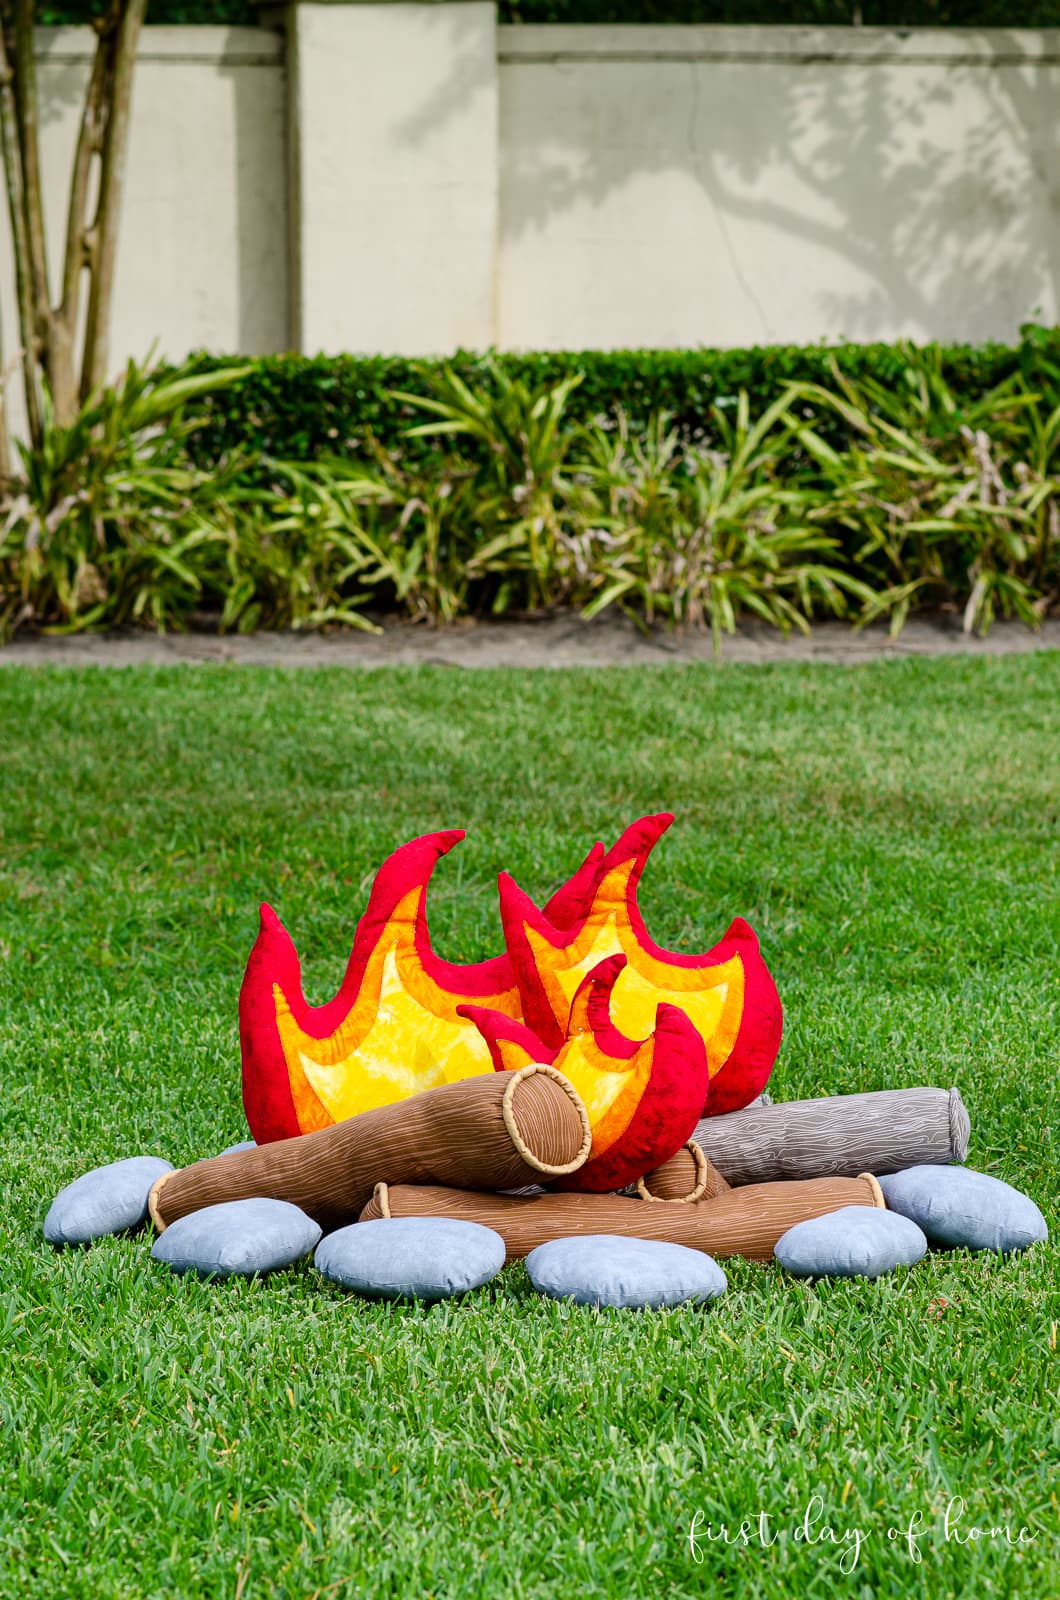
Enjoying Your Pretend Campfire Set for Kids
I thought that if I sewed a pretend campfire for my boys, they might stop collecting sticks in our backyard. Little did I know! Now they have an outdoor stick collection AND an indoor set of “logs” for pillow fights.
At least they’re enjoying the set, even if it’s not the way I intended!
The boys are now hounding me to make pretend hot dogs and marshmallows on a stick. Perhaps that will become Part 2 of this series!
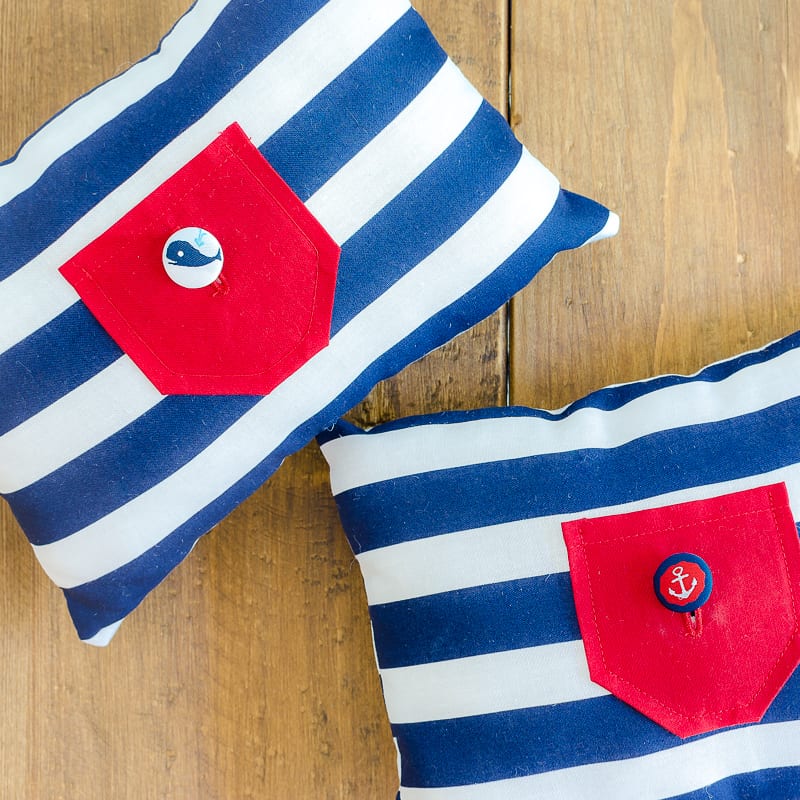
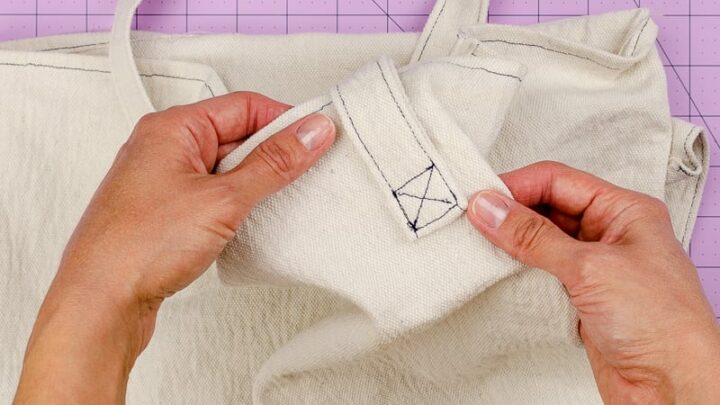
Until then, you can check out more sewing projects below, like my free tooth fairy pillow pattern and tote bag sewing tutorial.
Pin it for later!

Ooh, we stayed at a hotel in Chicago where they set up a Land of Nod tent and campfire smores set for the kids, and ever since I thought hey, I think I could make that. And here you did! It’s such a fun pretend set. Thanks for the pattern. I am pinning it.
Yes, my boys love playing with this set, and there’s just something special about making it yourself. Have fun with it, Kathy!
Do your talents ever end?! WOW!
Thanks so much! Glad you liked it. 😊