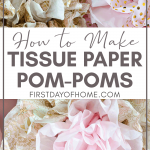
How to Make Beautiful Tissue Paper Pom-Poms (Multicolor)
Have you ever wanted to make your own pretty tissue paper balls to hang for party decor? Today, I’m bringing you my special tutorial to make DIY tissue paper pom-poms with multiple colors that look like flowers. Creating these beauties is easier than you think!
This post contains affiliate links, and I will be compensated if you make a purchase after clicking on my links. For more information, please see my disclosures.
I recently posted my free party-planning printables to help you organize your next event, and I devoted one section to party decor. Pom-poms always make the decor list when I’m hosting birthdays, showers, or special events.
When I threw a bridal shower for my niece, I included pom-poms as part of my decorations for the fireplace mantel and cake table. I also added some to my mimosa bar, which you’ll see later in this post.

Supplies for Multicolor Tissue Paper Pom-Poms
These tissue paper pom-poms require only four items. How easy is that?
- Tissue paper (8 sheets per pom-pom)
- Scissors
- Ribbon (alternative: floral wire)
- Measuring tape or ruler (optional)
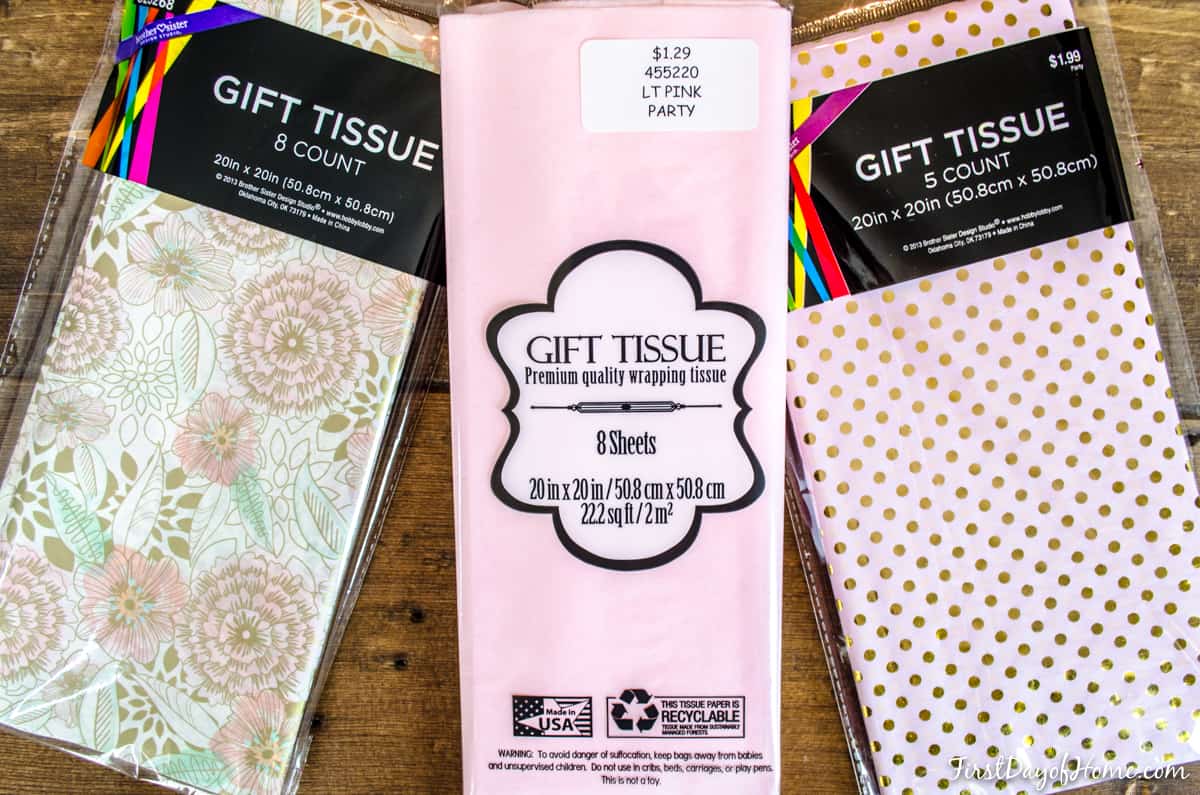
If you’re looking for a great collection of coordinating tissue paper, I love this combo you can purchase on Amazon. Often, this is the best option for getting tissue paper quickly and at an affordable price.
Steps for Multicolor Tissue Paper Pom-Poms

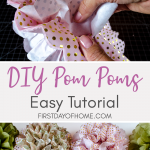
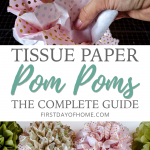
- To begin, cut your tissue paper in half along the shortest edge. For example, my tissue paper package contained eight sheets each measuring 20 x 20.5 inches, so I cut through all eight layers to form two stacks of 10 x 20.5 inches.
- For multicolor pom-poms, you will replace 1-2 sheets of tissue paper with an alternate color on both the top and bottom layers. Make sure any patterned tissue paper faces right-side-out on both sides.
- Accordion fold the layers of tissue paper, in one-inch segments.
- Once you’re done folding, cut off any excess tissue paper that might stick out unevenly.

- Use either a piece of ribbon or a piece of floral wire to secure the center of the pom-pom. If you plan to hang your multicolored pom-poms, make sure the ribbon is long enough (see my favorite ribbons below).
- Trim each end of your folded pom-pom in a curved shape, if desired.
- Open the pom-pom in a fan shape before you begin peeling back each layer.
- Gently pull each layer of tissue paper up toward the center ribbon on each side. Eventually, your pom-pom should start to look like a sphere.
For added texture, you can experiment with making a point at the end of the pom-poms instead of a rounded curve.

If you’re planning a party away from home, I suggest waiting to open your pom-poms at the venue. This will prevent them from getting crushed before they have a chance to wow your crowds.
For another variation of paper pom-poms, you can also see my tutorial on making DIY paper fans using scrapbook paper. That’s another budget-friendly way to incorporate your party’s color scheme into your decor.
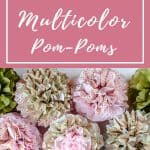
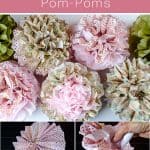
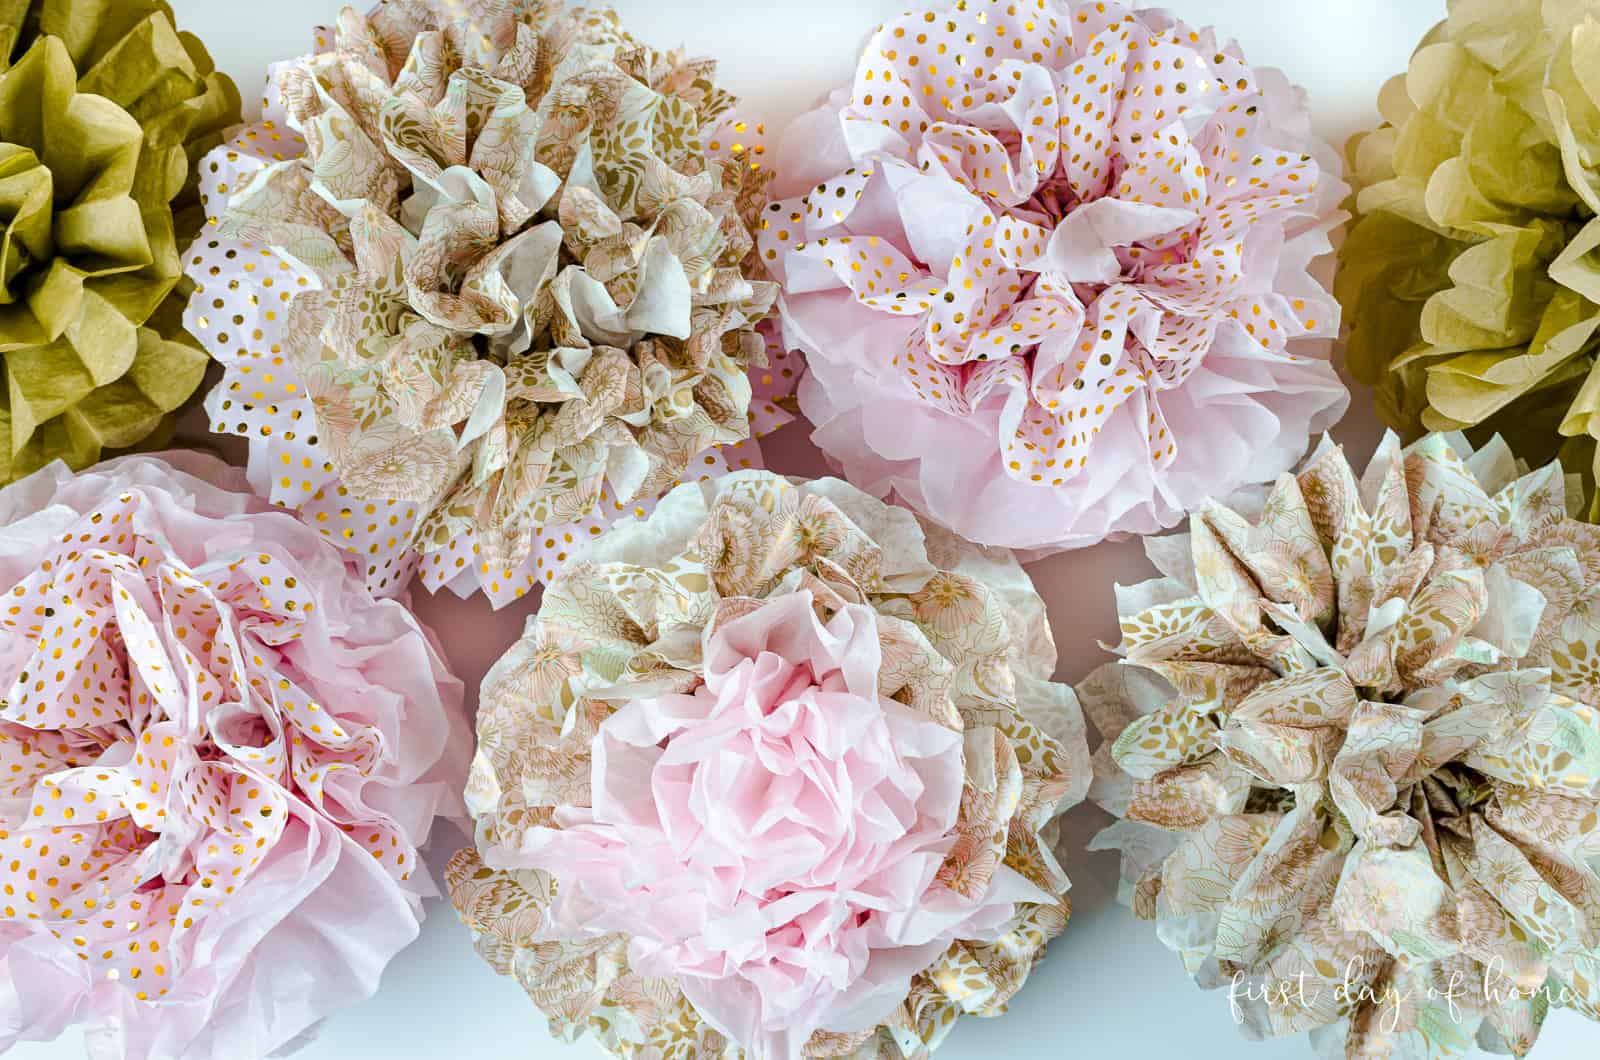
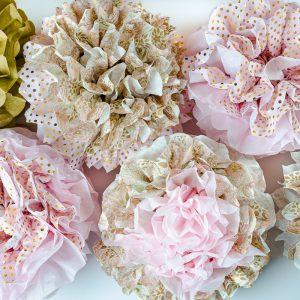
Final Look at Paper Pom-Poms
The finished pom-poms will look like the image below.

I love having the ability to tie in my color scheme, especially with this multicolor version of tissue paper pom-poms. If you’re more into yarn pom-poms, you can also find a tutorial in my Valentine garland tutorial.
Now that you know how to make multi-colored tissue paper pom-poms, you can customize them for any birthday, bridal shower, baby shower, or other special occasion! I hope you enjoy unleashing your creativity with this DIY party decor.
You can see how these pom poms created a fun garland with other paper flowers for a mimosa bar bridal shower.

For another fun paper craft, try making these DIY paper flowers, too!

You can also learn how to make an adorable pom-pom garland with yarn on my YouTube channel.
Shop the Post – DIY Tissue Paper Pom Poms
Pin it for later!

How to Make DIY Tissue Paper Pom-Poms (Multicolor)
Equipment
- Pair of scissors
Supplies
Instructions
- To begin, cut your tissue paper in half along the shortest edge. For example, if a tissue paper package contains eight sheets each measuring 20 x 20.5 inches, cut through all eight layers to form two stacks of 10 x 20.5 inches.
- For multicolor pom-poms, 1-2 sheets of tissue paper with an alternate color on both the top and bottom layers. Make sure any patterned tissue paper faces right-side-out on both sides.
- Accordion-fold the layers of tissue paper, in one-inch segments.
- Once you’re done folding, cut off any excess tissue paper that might stick out unevenly.
- Use either a piece of ribbon or a piece of floral wire to secure the center of the pom-pom. If you plan to hang your multicolored pom-poms, make sure the ribbon is long enough to hang.
- Trim each end of your folded pom-pom in a curved shape, if desired.
- Open the pom-pom in a fan shape before you begin peeling back each layer.
- Gently pull each layer of tissue paper up toward the center ribbon on each side. Eventually, your pom-pom should start to look like a sphere.
Notes
You Might Also Like…

How did you make the future Mrs ——— flag banner that’s displayed with the Pom poms
Hi Bonnie! I don’t have a full tutorial for that particular banner, but you might find this post useful since it’s made a very similar way and has a good template. https://www.firstdayofhome.com/free-harvest-pennant-banner/
I also have a bridal shower decor post that you might find useful. I have some links to pretty banners in there. https://www.firstdayofhome.com/elegant-and-affordable-ideas-for-diy-bridal-shower-decor/
Best wishes, Crissy
So precious! I needed to know how to make these for my girls when they were younger1 . O well, maybe for grandchildren one day! Thanks for sharing!
Thank you, Cindy! I made them for my niece’s bridal shower, but many friends have said they would enjoy making these with kids. I seem to recall my mom making something like this when I was a child. Thanks for stopping by, my friend!
A fun project to do with kids too! And the scalloped edges are the perfect touch!
Hi Janet! Thanks so much. Yes, my kids are always by my side trying to help, and this is one project where they can actually join in the fun!
Adorable! My girls would enjoy making these with me, too 🙂
Thanks, CiCi! Yes, the kids would love making these!
Blown away by the beauty and creativity of your latest post!! A masterful job!
Thanks so much! I had fun making them!